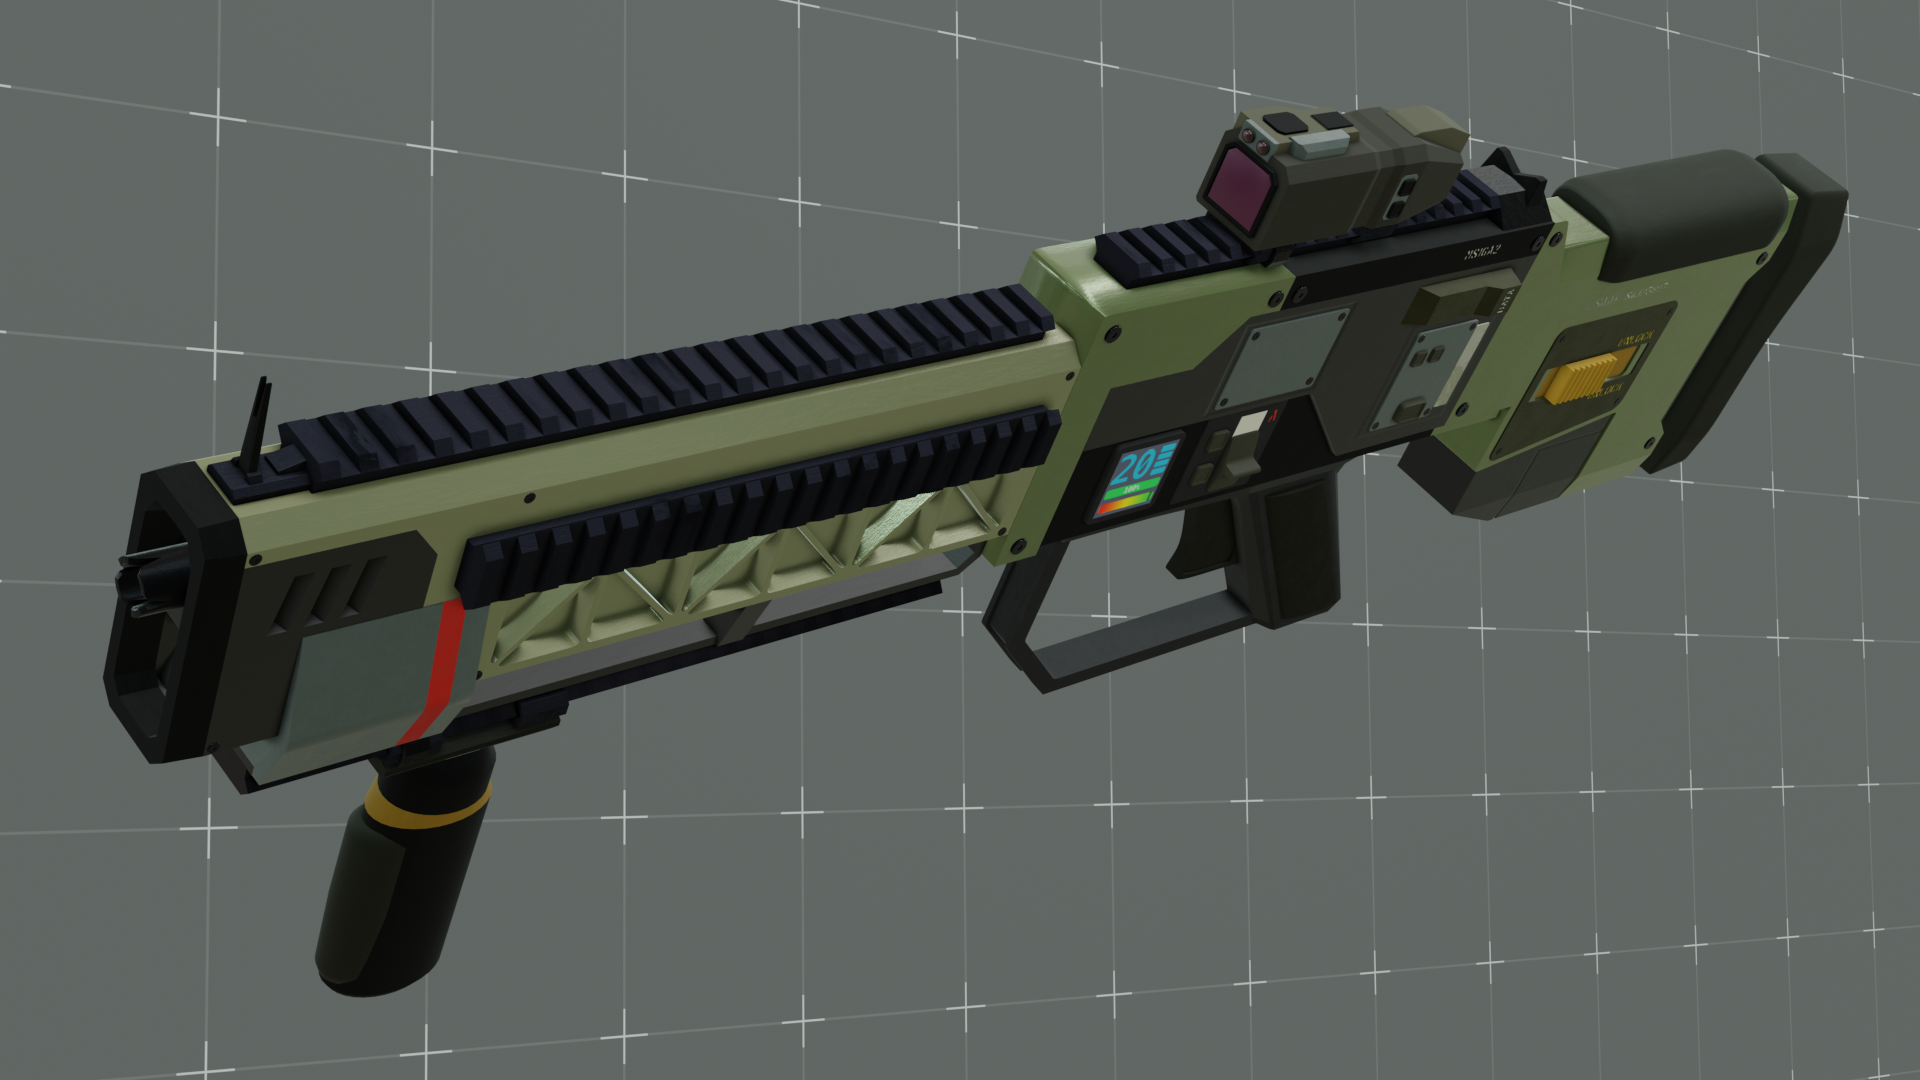
MS-16
United States Armed Forces - Electric Assault Rifle
Description:
The MS-16 Electric Assault Rifle is the standard issue service firearm for the primary branches of the United States Armed Forces. The rifle uses state-of-the-art electromagnetic coilgun technology to launch metal-encapsulated plastic rounds at extreme speeds. Following a bullpup-style form factor, the MS-16 employs a modular metal-alloy and composite construction to maximize strength, and minimize size and weight. Rails along the front end of the rifle give the MS-16 countless options in attachments to accommodate to any mission demands.
Several variants of the MS-16 exist, but its generalist design makes it fit for various kinds of mission. Its electric firing mechanism and enhanced trigger system make the MS-16 the first service firearms design for use in the vacuum of space. Its ability to adapt to the harsh environment out of the atmosphere and gravity well of Earth make it the obvious choice for the United States Space Force.
The MS-16 is the latest generation in smart firearm technology, featuring the ability to connect with situational awareness equipment and augmented reality systems for seamless, integrated use on complex battlefields. This includes the option for an intelligent video scope and reticle, as well as a smart status display that constant updates the operator on the condition of the gun.
Each magazine holds dozens of rounds and the integrated power pack in back of the magazine power the rifle.
The rifle first saw use during peacekeeping operations by the North American Union during the Kashmir nuclear conflict. Since then, the rifle’s efficacy made its way quickly through the rest of US military service as well as seeing use in other armies.
Idea:
The idea of the MS-16 started as a piece of text in the story outline document I was working on for Eleran Eclipse. Over time, as worldbuilding became story writing, it became important for me to think about how the rifle would look in the book. Like with other things in the book, I found it incredibly helpful to physicalize the design and make it into something more real.
This is the latest iteration of the design, now making use of gained experience with using Blender3D. I began using Blender in my other creations like spacecraft CSV Langley and the USSF Shenandoah, but this represents another step in my journey through 3D modeling. In particular, I wanted to start experimenting with animation on Blender as well.


The Illustrated Version:
When I started to seriously work on the illustration, I thought it would be a prime opportunity to try some new approaches to designing and illustrating. Instead of using my typical pipeline of sketching in Notes or fiddling around in Illustrator, I decide to try making an initial sketch in Adobe Fresco on my iPad Pro. The product was the design you see above.
Drawing in Fresco let me to freehand more and I tackled more of a 3D perspective style for this work, rather than a wholly two-dimensional technical drawing. The incorporation of Fresco into my workflow also let me to do some new things that wasn’t possible before. You’ll see some of that implementation below.
Original Sketch in Adobe Fresco
Line Art, weathering and shading
Process:
After sketching the work, I followed up with line art and some initial texturing to flesh out more of the design. Part of the process was trial and error but slowly I refined on the design and look of the rifle. After getting the line work done, I began working on the colors for the rifle.
Color Pass
Color was as well a trial and error process until I landed on a pallet I was satisfied with. I also fiddled with the darkness of some colors to emphasize the shading.
The step afterwards was bringing the work into Illustrator.
Vectorized, optimized, and refinements made in Illustrator.
In Adobe Illustrator, I followed my typical illustration pipeline and made a vector illustration of the work. I as well used this time to fix certain issues that were present in the sketch piece and also added some additional details. For example, you may notice the additional buttons and display on certain parts of the rifle. Also worked on separately really were the EVA strap and grip.
Additional textures, pieces added. Weathering brought over from Fresco.
With most of the vector work done, I added outlines to highlight certain parts and continued refine the look. I also took the piece back into Fresco and used the app’s watercolor and pencil tools to create some weathering and texturing like you saw in the earlier image. A layer with just the weathering and texturing was exported and brought back into Illustrator to create the final product. The background and text were added last.


